Solving the Dreaded Red CPU Light Mystery

Are you constantly facing problems due to a red CPU light on your motherboard? This issue might leave you feeling bewildered and uncertain about the next steps to take.
But fear not, as there are practical solutions to unravel this enigma and restore your system's functionality. From understanding the underlying causes to implementing advanced troubleshooting techniques, this guide will equip you with the knowledge and strategies needed to conquer the dreaded red CPU light.
So, if you're ready to put an end to this vexing issue and regain control of your system's performance, buckle up and prepare to navigate through the maze of CPU diagnostics.
Key Takeaways
- The red CPU light indicates an issue with the CPU.
- The problem can be caused by compatibility problems, improper installation, or outdated BIOS.
- Basic troubleshooting steps include checking cables, clearing out dust, and checking CPU compatibility.
- Advanced troubleshooting steps include updating the BIOS, reseating the CPU, and changing the CMOS battery.
Understanding the Red CPU Light

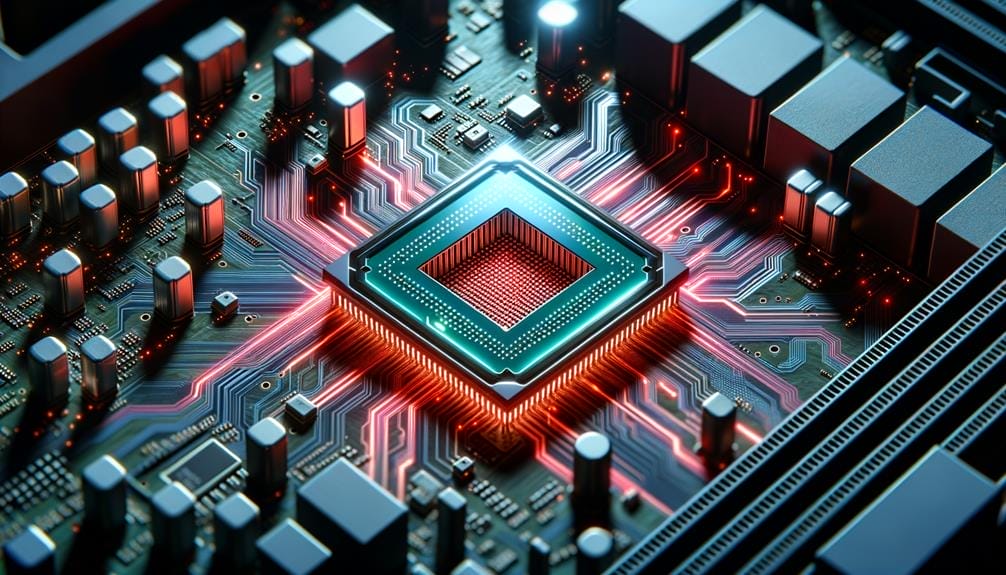
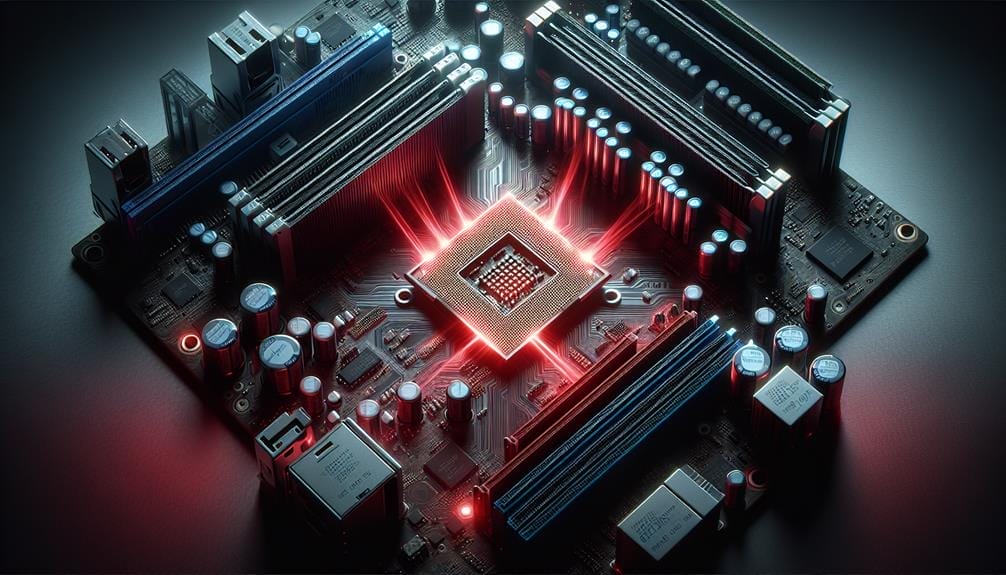
The red CPU light on your motherboard indicates a potential issue with the CPU, signaling the need for troubleshooting to identify and resolve the problem.
Causes of this issue could stem from compatibility problems, improper installation, or outdated BIOS.
To identify CPU compatibility, start by checking the motherboard and CPU models and then visit the manufacturer's support website to verify compatibility.
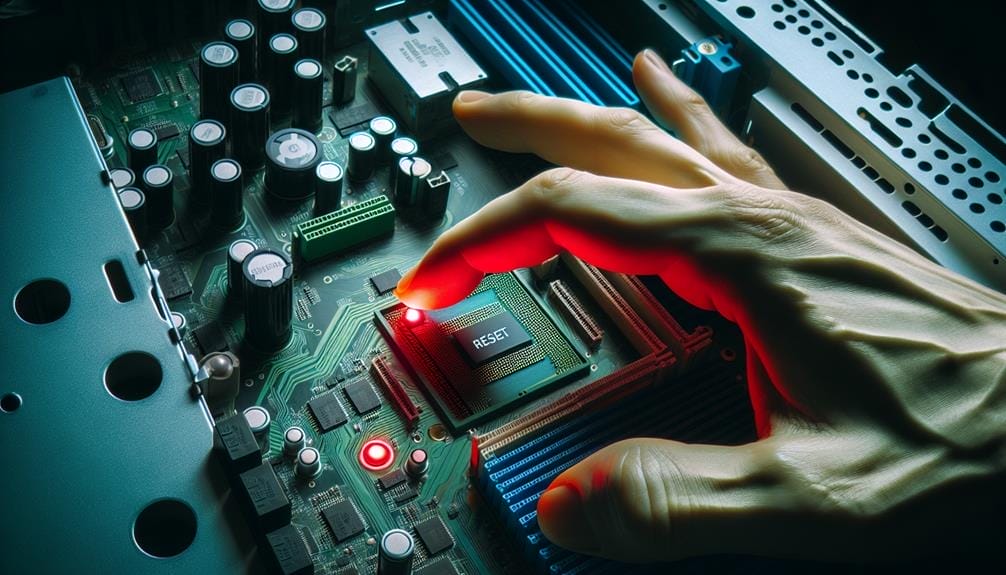
If the CPU is compatible, consider resetting the BIOS. This can be achieved by removing the CMOS battery for a few minutes or using the CMOS jumper to reset BIOS settings.
If basic troubleshooting doesn't resolve the issue, advanced steps such as updating the BIOS, reseating the CPU, or changing the CMOS battery may be necessary.
For further troubleshooting, consider seeking professional assistance or contacting the manufacturer for support.
Basic Troubleshooting Steps
Understanding the red CPU light issue may require you to start with basic troubleshooting steps to identify and resolve the problem. Here are some essential steps to address the red CPU light mystery:
| Troubleshooting Steps | Description |
|---|---|
| Check Cables | Ensure all cables are properly connected and free from damage. |
| Clear Dust | Clean out any dust and debris from the PC, especially the CPU fan blades. |
| CPU Compatibility | Confirm compatibility between the motherboard and CPU models. |
| Manufacturer's Support | Visit the manufacturer's support website to verify CPU compatibility. |
| Reset BIOS | If the CPU is compatible, reset the BIOS to default settings. |
Following these steps can help in identifying and resolving the red CPU light issue.
Resetting the BIOS

To reset the BIOS, you can remove the CMOS battery for a few minutes to restore default settings.
- Clearing CMOS: Remove the CMOS battery or use the CMOS jumper to reset the BIOS settings.
- Updating motherboard firmware: Check the manufacturer's website for the latest BIOS version, download the update file, and follow the provided instructions.
- Checking motherboard manual: Refer to the motherboard manual for specific instructions on resetting the BIOS, as the process may vary.
Resetting the BIOS can resolve compatibility issues and restore default configurations, potentially addressing the red CPU light problem.
If updating the BIOS or clearing CMOS doesn't resolve the issue, consider seeking professional assistance or replacing hardware components.
Advanced Troubleshooting Steps
If updating the BIOS or clearing CMOS hasn't resolved the red CPU light issue, you should consider more advanced troubleshooting steps to pinpoint and resolve the underlying problem.
Updating the BIOS can resolve CPU recognition issues caused by incompatible BIOS versions. Download the latest BIOS update from the manufacturer's website and follow their instructions for installation.
Additionally, reseating the CPU can address problems stemming from improper installation or bent pins. Turn off the PC, disconnect all cables, unmount the CPU cooler, inspect the CPU for bent pins, correct if necessary, reinsert the CPU into the socket, apply new thermal paste, and remount the CPU cooler.
If these steps don't resolve the issue, consider replacing the CMOS battery or seeking professional assistance to diagnose and address any hardware damage.
Further Troubleshooting and Additional Information

For further troubleshooting and additional information regarding the red CPU light issue, consider exploring the FAQ section for common questions and answers related to this specific problem.
- FAQ: Provides answers to common questions related to the red CPU light issue.
- Manufacturer Support: Contact the manufacturer to inquire about CPU compatibility and potential hardware damage.
- Professional Assistance: If you suspect hardware damage, seek professional assistance to diagnose and repair the issue.
Exploring the FAQ section can provide insights into common issues and solutions, while reaching out to the manufacturer and seeking professional assistance can help address potential hardware damage or CPU compatibility issues.
Additional Resources
Explore the following additional resources for comprehensive guidance on troubleshooting the red CPU light issue.
- CPU Compatibility:
Ensure that your CPU is compatible with your motherboard by identifying the motherboard and CPU models. Visit the manufacturer's support website to check CPU compatibility and ensure that your CPU is supported.
- BIOS Update Process:
Incompatible BIOS versions can cause CPU recognition issues. Update your BIOS to the latest version by downloading the update file from the manufacturer's website and following their instructions. This process can help resolve compatibility issues and ensure proper recognition of the CPU.
Utilize these resources to thoroughly troubleshoot the red CPU light issue and resolve any compatibility or recognition problems with your CPU and motherboard.
Conclusion
In conclusion, by understanding the potential causes of the red CPU light and following the troubleshooting steps outlined in this article, you can effectively address compatibility issues, installation mishaps, and outdated BIOS concerns.
Armed with this knowledge, you can confidently navigate the world of hardware diagnostics and conquer the dreaded red CPU light, restoring your system's functionality.
Remember to utilize the additional resources provided to further enhance your troubleshooting skills.
