Optimizing Your Monitor: To Adjust Sharpness
Seeking to perfect the display’s clarity is comparable to carefully adjusting a musical instrument before it plays in a show. Such precise tweaks greatly affect your experience, whether for professional tasks or personal enjoyment.
As you aim to achieve the perfect balance, understanding the nuances of monitor sharpness adjustment is crucial. From the intricacies of ClearType calibration to the influence of monitor specifications, there’s a wealth of factors to consider.
But how do you navigate these complexities to ensure your monitor delivers the clarity and crispness you desire? Let’s explore the art of optimizing monitor sharpness and unravel the keys to unlocking a visually satisfying display tailored to your preferences.
Key Takeaways
- ClearType is a display setting in Windows that can improve sharpness and can be enabled by opening Start, typing ClearType, and clicking Adjust ClearType text.
- Adjusting monitor sharpness depends on the specific monitor, and most display manufacturers set the sweet spot around the 50 setting.
- Oversharpening the image can result in a less clear image and may cause a high-pitched buzzing sound on some monitors.
- The resolution of the display, measured in Pixels Per Inch (PPI), directly affects sharpness, with a recommended minimum PPI of 90 for desktop displays.
Understanding Monitor Sharpness
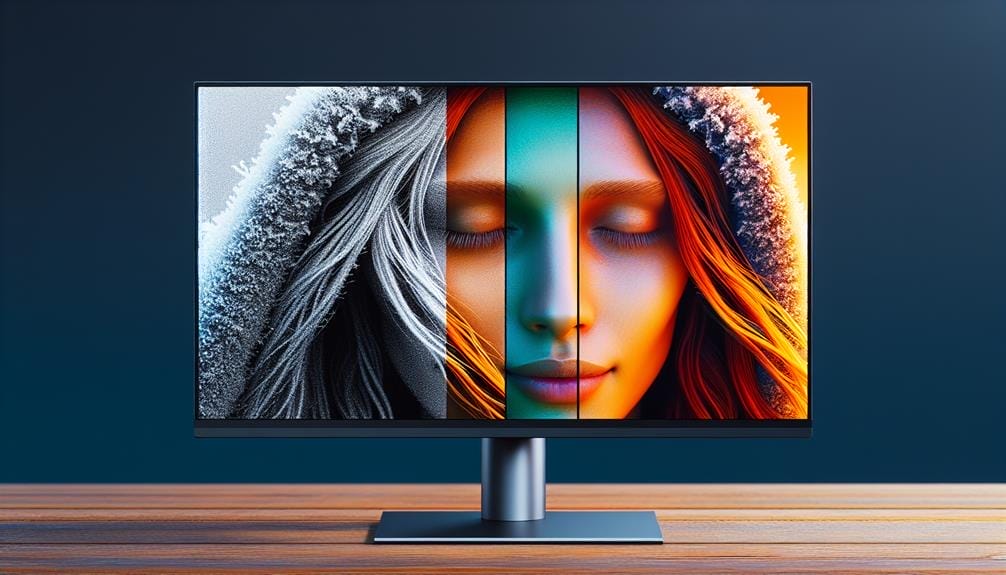
To truly comprehend monitor sharpness, it’s crucial to grasp the impact it has on the clarity and quality of displayed content, such as text and high-resolution images. Optimizing monitor clarity is essential for reducing eye strain and ensuring a comfortable viewing experience.
By adjusting sharpness settings and utilizing features like ClearType, you can enhance the overall visual quality and readability of text and graphics on your monitor. It’s important to find the right balance to avoid oversharpening, which can lead to distorted colors, contrast, and potential loss of image quality.
Understanding monitor sharpness is key to achieving improved image clarity, reducing eye strain, and enhancing the overall visual experience while using your monitor.
Factors Affecting Sharpness Adjustment
Considering the specific monitor model and its display specifications is crucial when adjusting sharpness settings to ensure optimal image quality. Several factors must be taken into account to find the right balance between sharpness and image clarity. Here are the key factors to consider:
| Factors to Consider | Finding the Right Balance |
|---|---|
| Display manufacturer’s setting | Avoid oversharpening |
| Monitor emitting sounds | Consider impact on visuals |
| Resolution and PPI | Balance sharpness and quality |
| Response time settings | Personal preference matters |
ClearType and Windows Calibration
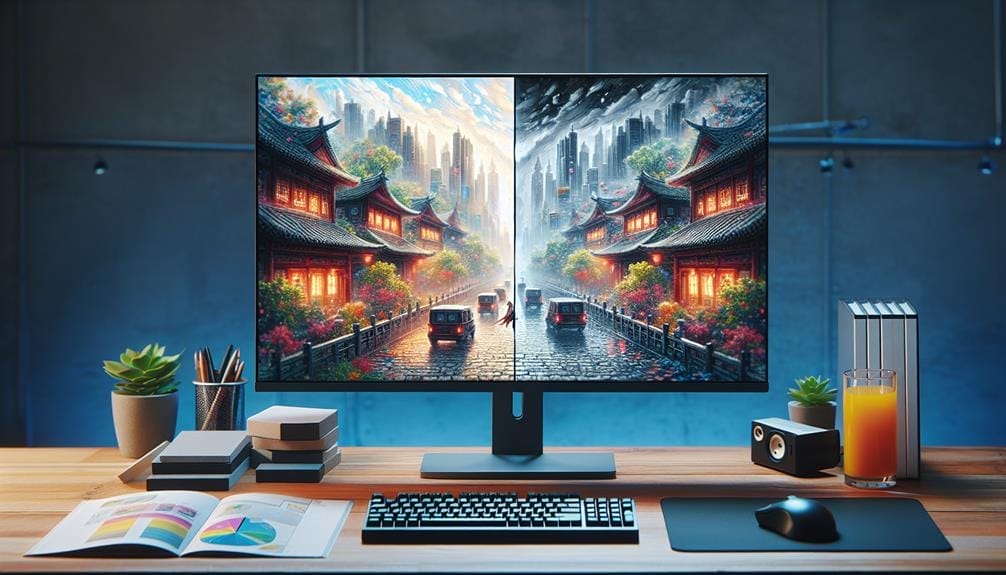
Exploring ClearType and Windows calibration connects the understanding of monitor sharpness to practical adjustments for optimal display clarity. When it comes to ClearType effectiveness, enabling it through Windows settings can significantly enhance text readability and overall image clarity. Benefits of calibration include improved sharpness, reduced eye strain, and better visibility of fine details in graphics and design work.
Furthermore, ClearType allows for manual calibration, ensuring that text appears as clear as possible on your specific screen. By utilizing ClearType and Windows calibration, you can enhance the sharpness of your monitor to achieve a more visually appealing and comfortable viewing experience.
Impact of Monitor Specs on Sharpness
You can gauge the sharpness of your monitor by considering its resolution, which directly impacts the clarity of displayed content. The resolution of the display, measured in Pixels Per Inch (PPI), plays a crucial role in determining sharpness. Here’s a breakdown of how monitor resolution and PPI affect sharpness:
| Monitor Resolution | PPI (Pixels Per Inch) |
|---|---|
| 720p | 60 |
| 1080p | 90 |
| 1440p | 110 |
| 4K (2160p) | 160 |
| 8K (4320p) | 280 |
Understanding the relationship between monitor resolution, PPI, and sharpness adjustment can help you optimize your display for the best viewing experience.
Considerations for Gaming
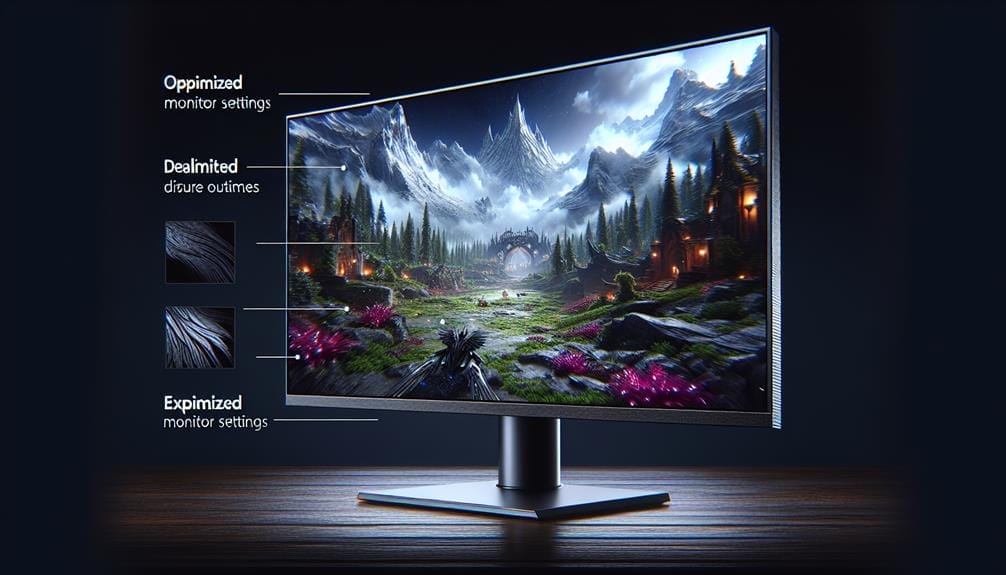
When adjusting monitor sharpness for gaming, consider finding a balance between image clarity and quality to optimize your visual experience. Here are some key considerations:
- Response Time and Ghosting Artifacts: High sharpness settings can lead to increased ghosting artifacts, affecting the smoothness of visuals during fast-paced gaming.
- Balancing Sharpness and Image Quality: Finding the right sharpness level is crucial to maintain image quality while ensuring text and graphics are clear and detailed.
- Personal Preference and Game Specificity: Your personal preference and the type of game being played should dictate the sharpness settings to enhance your gaming visuals.
Benefits of Adjusting Sharpness
Improving monitor sharpness enhances image clarity and text readability, benefiting your overall visual experience. By adjusting sharpness, you can enjoy improved image clarity, allowing for better visibility of fine details in graphics and design work.
Additionally, adjusting sharpness can help reduce eye strain and fatigue, making it easier and more comfortable to view your monitor for extended periods. The enhanced text readability resulting from optimized sharpness also contributes to a more pleasant and efficient viewing experience.
With reduced eye strain and improved clarity, adjusting the sharpness of your monitor can significantly enhance your overall visual experience without compromising image quality.
Drawbacks of Changing Sharpness
Changing the sharpness settings on your monitor may result in a loss of image quality and distortion of colors and contrast. This can lead to blurring or pixelation of images and text, as well as inconsistent sharpness across different applications.
Additionally, you may experience difficulty in calibrating the sharpness to your personal preferences, which can be frustrating when trying to achieve the optimal visual experience.
These drawbacks should be carefully considered before making any significant adjustments to the sharpness settings on your monitor.
It’s important to find a balance between improving sharpness and maintaining overall image quality to ensure a satisfying viewing experience.
Avoiding Oversharpening
To avoid oversharpening your monitor, ensure that the sharpness setting is adjusted within the recommended range for optimal visual clarity and quality. Finding the right balance is crucial to prevent distortion and maintain image integrity. Here are the recommended sharpness levels for common monitor sizes:
| Monitor Size | Recommended Sharpness Level | Sweet Spot Range |
|---|---|---|
| 22 inches | 50 | 45-55 |
| 27 inches | 60 | 55-65 |
| 32 inches | 70 | 65-75 |
Finding the Sweet Spot
When adjusting your monitor’s sharpness settings, aim for the sweet spot that balances clarity and visual integrity to enhance your overall viewing experience. Finding the optimal settings is crucial to avoid image distortion. To achieve this, follow these steps:
- Start by setting the sharpness at the manufacturer’s recommended level, usually around 50, as a baseline.
- Gradually increase the sharpness while observing the on-screen content for any signs of oversharpening, such as exaggerated edges or unnatural textures.
- Once you notice these signs, scale back the sharpness slightly until the image appears clear and well-defined without any distortion or artifacts.
Personal Preference and Calibration
Considering your individual preferences and the unique characteristics of your monitor, the calibration of sharpness settings can significantly impact your overall visual experience.
When calibrating preferences, it’s important to explore the personalization options available on your monitor. Take the time to experiment with different sharpness settings to find the balance that suits your specific needs.
Keep in mind that oversharpening can lead to a less clear image and potential discomfort. Pay attention to any changes in image quality, text readability, and overall visual comfort as you adjust the sharpness settings to align with your personal preferences.
Conclusion
Now that you’ve learned how to optimize your monitor’s sharpness, you can enjoy a clearer and more detailed visual experience.
By understanding the factors that affect sharpness adjustment and considering your specific needs, you can find the sweet spot for your monitor’s sharpness.
Whether it’s for work or leisure, achieving the perfect sharpness will enhance your overall satisfaction with your monitor’s display.
Keep these tips in mind as you fine-tune your monitor for the best visual experience.

