How to Get Started with Live Streaming in 2022: TikTok, Twitch, YouTube, and Facebook Gaming
In recent years, particularly throughout 2020, 2021, and 2022, the surge in live streaming’s popularity has come as no surprise. Platforms including TikTok, Twitch, YouTube Live Streaming, and Facebook Gaming have witnessed a remarkable uptick in their audience numbers, a trend largely attributed to the global pandemic that relegated us to our homes. Whether you’re contemplating live streaming as a leisure activity or eyeing it as a potential professional broadcasting career, now is an opportune moment to dive in. Embarking on your live streaming journey, especially on platforms such as Twitch, can initially appear intimidating; however, this guide aims to demystify the process and provides five crucial steps to jumpstart your live streaming project today.
Choosing a Live Streaming Broadcast Software
There are several different free broadcasting software options that you can choose from to live stream with, and deciding which one to use can be confusing. For the most part, they all generally do the same thing, with a couple being standouts for simplicity and added features. The most commonly used live stream broadcast applications, in no particular order, are:
1. OBS Studio
2. Streamlabs OBS
3. StreamElements OBS Live
4. XSplit
To keep things simple, I will not be going over each platform’s details in this article. Instead, I will recommend that for a streamer looking for the most straightforward and out of the box solution to help them “go live soon”, to use Streamlabs OBS.
Streamlabs OBS offers a wide range of features for beginners while remaining useful for advanced streamers. Choosing Streamlabs gives you the ability to grow and customize your stream far into the future without having to worry about swapping over to another program down the road.
Getting starting with Streamlabs OBS is a breeze; all you need to do is head over to Streamlabs.com and click the “Download Streamlabs” button you see on the home screen.

Once you have the file downloaded, run the installer, and follow the prompts. To keep things simple, I suggest installing it to the default location, so unless you have a specific reason for changing this, leave it as is. The install should only take a few moments, and once completed, you are ready to begin!
Connecting to Twitch, YouTube, or Facebook Gaming
When you first open Streamlabs OBS, you will see a list of services to choose from for your broadcast.

You can connect to multiple, but you will want to choose the platform that you primarily intend to stream on to start. If you are unsure which platform would suit you best, check out our article discussing the best platform to stream video games on in 2020.
Once you have made that selection, you will have the option to import OBS studio settings or “start fresh.” Unless you have used OBS in the past and want to import your data from that program, choose the start fresh option.

From here, you will see a microphone and camera setup screen. If you have a webcam connected to your computer and want to use it during your live stream, select it in the drop-down and then do the same for your microphone input.
 If you do not see the voice meter moving when you talk into it at first, cycle through the sources available until you see something similar to what is in the image below. After the camera and microphone set up, click continue to finish the initial steps.
Setting Up Streamlabs OBS
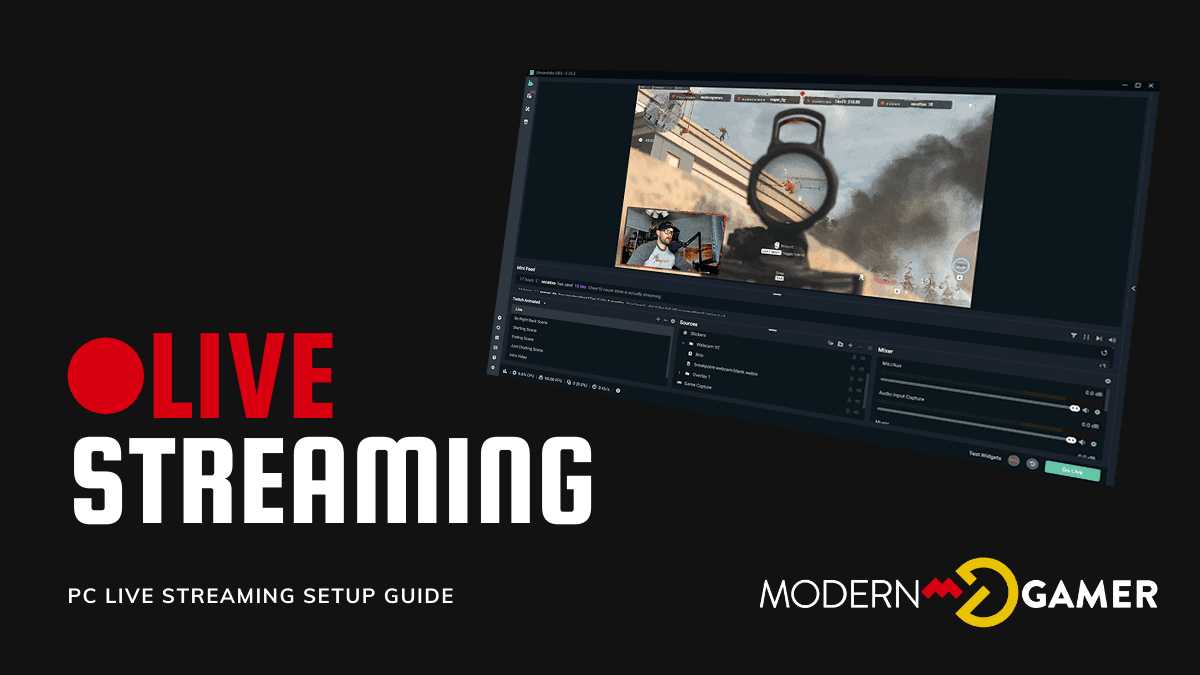
Once you get into the primary interface for Streamlabs OBS, the first thing you will do is set up a source to capture. You need to create two primary sources for your game scene: the first is your game capture source, and the second source is your camera, which you will add as a video capture device.


After adding these two sources, I recommend that you right-click on the game capture source, go to transform, and then fit to screen, which will stretch the entire gameplay image to match your stream window’s output resolution. From there, you can drag and drop your camera source to the area you want it and resize it to your liking.
You now have the basics and are ready to hit that “go live” button to broadcast your content and start your journey to become the next Ninja! If you are looking to add a little more color to your stream, though, make sure to check out the next section on customizing your stream.
Customizing Your Stream
One of the best things you can do for your stream is to add a bit of yourself to its look and feel. If you have watched live streams in the past, you know that most top streamers have customized their streams to incorporate their unique personality and captivate their audience.

The fundamentals of these tweaks and customizations are from overlays and alerts, and, luckily, Streamlabs OBS has hundreds of built-in layouts you can choose from to customize your stream.
 They even have a few pro tools that you can use to give your stream your personal touch.
Setting up and installing these themes is a breeze. Browse the catalog until you find one you like, click install, and Streamlabs will automatically create you a new scene collection with your overlay ready to be fine-tuned to your liking; it is that simple.
Ready To Go Live
Now that you have your stream setup, you are almost ready to “go live.” Once you hit go live, you will notice a popup that asks you to fill in the game details and other relevant details. Depending on the platform you are streaming on, you may have an opportunity to fill out a live broadcast description. I recommend taking a moment to fill this out if your platform supports it. Filling out this description will help the site you live on know more about your content and help put it in front of the right audience.
The final thing to do before you hit that “confirm and go live” button is to make sure that you check the box for “use optimized encoder settings.” Streamlabs developed this option to take the guesswork out of the more advanced encoding settings and run everything at the optimal settings for your setup and internet connection.
I hope you found this article helpful. If you would like to see more content like this or would like any additional information on this, please let us know in the comments section below!