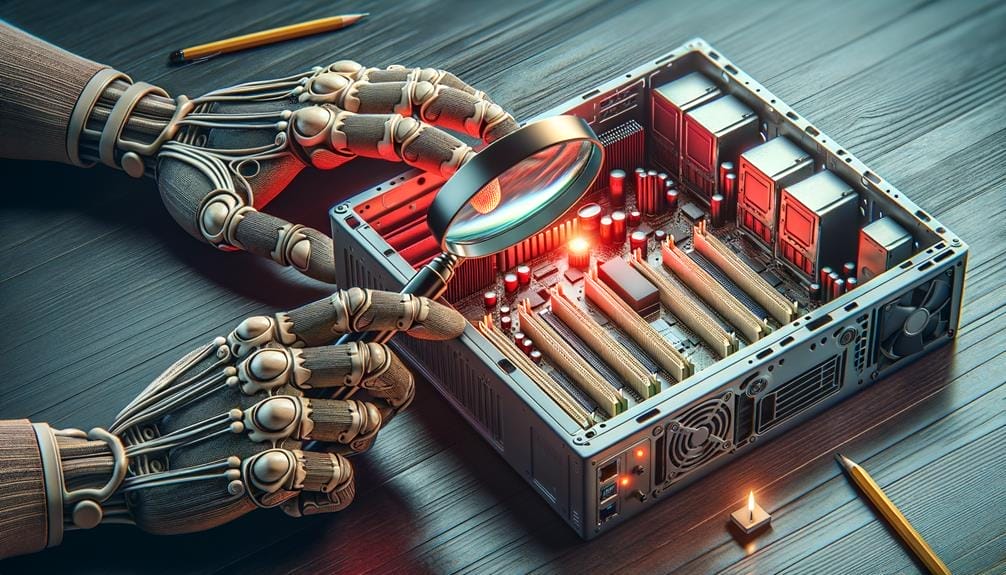
Troubleshooting Motherboard's Red DRAM Alert
When your computer’s core starts acting up, a flashing red DRAM light on the motherboard serves as an urgent call to action. This warning signals that the memory is having trouble and needs quick fixing. It might be because the RAM isn’t seated properly, the BIOS settings got messed up, or the components aren’t syncing well. From personal experience, spotting these issues fast can save hours of frustration and keep your system running smoothly. People who build or fix computers often rely on these clues to get things back on track. Keep an eye out for this light—catching the problem early can stop bigger headaches down the road.
You'll start by ensuring your RAM sticks are seated correctly. If that doesn't clear things up, you'll move on to tweaking your BIOS settings, including disabling any overly ambitious XMP profiles that might be causing instability.
In cases where these steps don't resolve the issue, confirming that your RAM is compatible with your motherboard is key. And if all else fails, a BIOS reset might just be the fresh start your system needs.
Follow along for a clear path to restoring your computer's vitality.
Key Takeaways
- The red DRAM light on a motherboard indicates an issue with the RAM.
- Reinstalling the RAM following proper installation instructions can often resolve the problem.
- Disabling XMP in the BIOS may help troubleshoot the red DRAM light error, as enabling XMP can cause compatibility issues.
- Mixing incompatible RAM modules can also lead to the red DRAM light, so it's important to use RAM modules that are compatible with the motherboard.
Identifying the Red DRAM Light
When your computer fails to boot and you notice a persistent red light on the motherboard, it's likely indicating a DRAM issue that needs addressing. This light serves as an error indicator, signaling troubles with your system's memory that prevent it from starting properly.
You'll need to apply specific troubleshooting techniques to resolve this.
First, ensure that your RAM is correctly seated in the appropriate slots, as indicated in your motherboard's manual.
If the problem persists, try disabling XMP (Extreme Memory Profile) in your system's BIOS, which sometimes resolves compatibility issues by reverting RAM to standard speeds.
As a last resort, resetting the BIOS to its default settings can also eliminate configuration-related errors.
Use these troubleshooting tips to systematically diagnose and fix the red DRAM light issue.
Proper RAM Installation Steps
To properly install RAM and avoid the red DRAM light error, begin by powering off your computer and unplugging it from the power source. Open the case and locate the RAM slots on your motherboard. For accurate ram installation troubleshooting, follow these steps:
| Step | Action | Checkpoint |
|---|---|---|
| 1 | Align the RAM module | Notch in RAM matches slot |
| 2 | Apply even pressure | Click indicates proper seating |
| 3 | Lock the side clips | Clips snap into place |
| 4 | Check the motherboard manual | Use recommended slots |
| 5 | Power on and test | No red DRAM light |
Avoid common ram installation mistakes, such as inserting RAM at an angle or into the wrong slots, as these could lead to faulty connections and errors.
Disabling XMP in BIOS
If you're experiencing the red DRAM light on your motherboard, disabling the XMP (Extreme Memory Profile) in your system's BIOS may resolve the issue. Here's what you should keep in mind:
- Stabilize System Performance: Disabling XMP can lead to more stable system operation, eliminating overclock-related errors.
- Improve Compatibility: It ensures compatibility with various motherboards that may not support XMP well.
- Troubleshoot Boot Issues: Helps in troubleshooting XMP errors that prevent the system from booting.
- Simplify Diagnostics: With XMP off, you can rule out one potential cause of memory problems.
- Default Speeds: Disabling XMP reverts RAM to default speeds, which can be more reliable.
Understand that disabling XMP advantages include eliminating variables during the troubleshooting process, leading to a clearer diagnosis of DRAM-related issues.
Ensuring RAM Compatibility
After disabling XMP and still encountering the red DRAM light, it's crucial to verify that your RAM is fully compatible with your motherboard. Start by checking RAM specifications; this includes the type (DDR4, DDR5), speed, and voltage. It's essential to ensure these align with your motherboard's capabilities. Verify motherboard compatibility by consulting the manual or manufacturer's website. Look for the Qualified Vendor List (QVL), which lists tested and approved memory modules.
If you're mixing RAM sticks, they should match in frequency, capacity, and timings to avoid conflicts. Remember, even slight differences can cause instability. By rigorously verifying compatibility, you'll rule out mismatched RAM as the cause of the red DRAM alert and move closer to a stable system.
Resetting BIOS Settings
Have you checked your RAM's compatibility and disabled XMP but still see the red DRAM light on your motherboard? It's time to consider resetting BIOS settings. This process can resolve issues that aren't fixed through other troubleshooting methods.
Here's how you can reset your BIOS:
- Locate the CMOS jumper on your motherboard and change its position briefly to clear the CMOS.
- Alternatively, remove the CMOS battery for a few minutes, then reinsert it to reset the BIOS.
- Access the BIOS setup upon boot and select the option to restore default settings.
- Save changes and reboot to see if the DRAM light issue is resolved.
- If problems persist, consider updating BIOS, which can also address compatibility issues.
Resolving Persistent Issues
Even with a BIOS reset to default settings, you might encounter the red DRAM light, suggesting deeper issues that require advanced troubleshooting techniques. This common error indicator signals that your system's RAM isn't functioning correctly.
First, ensure that your RAM modules aren't only properly seated but also compatible with your motherboard. Refer to the manufacturer's Qualified Vendor List for confirmation. If mismatched modules are in use, replace them with a uniform kit.
Next, methodically test each RAM module and slot individually to isolate a faulty component.
Should problems persist, consider a firmware update for your motherboard.
Lastly, a failing power supply or even a defective motherboard could be at fault. These steps help pinpoint the exact cause, leading to a targeted and effective resolution.
Conclusion
You've worked through the steps, from checking for the red DRAM light to ensuring proper RAM installation.
You've toggled XMP settings and verified compatibility.
By resetting the BIOS, you're back in control.
If issues persist, it's time to consider professional help or replacement parts.
Now, with a systematic approach and technical know-how, you're equipped to tackle memory issues head-on and restore your system's stability.
Keep this guide handy; you're ready for any RAM challenge.